Today, we’ll talk about how to take photos of your products at home for your online store. This will save you money in the long run, as you won’t have to rely on professional photographers to take pictures of your products.
We’ll discuss inexpensive ways to set up your product photography, the right backdrop and lighting to use, how to take pictures of small products, editing and formatting your photographs, and tips for improving your product photography skills.
Table of Contents
Why you might want to develop your own in-house product photography
As an online store owner, you know that high-quality product photography is essential for showcasing your products and driving sales. However, hiring a professional photographer can be expensive, and may not be within your budget. Luckily, there are a few ways to set up your own in-house product photography area that will allow you to take beautiful photographs of your products at a fraction of the cost.
Here are a few reasons why you might want to develop your own in-house product photography setup:
- To save money on professional photography fees
- To have more control over the photo editing process
- To photograph small or awkward-sized products
- To improve your photography skills
Whatever the reason, developing your own in-house product photography setup is a great way to get the high-quality photos you need to sell your products online.
Challenges online store owners face with product photography
One of the main challenges online store owners face when trying to take their product photos is getting the perfect shot. It can be difficult to get the right angle, lighting, and focus when working with limited resources and no prior experience. Also, editing and putting together photos for your online store can take a lot of time.
Tips for developing in-house product photography setup
Product photography can be an important part of marketing your product and driving sales, but hiring a professional photographer can also be expensive. Luckily, there are a few ways to set up your own in-house product photography area that will allow you to take beautiful photographs of your products at a fraction of the cost. Here are a few tips for setting up your product photography area on a budget:
Understand what you need
It’s important to understand what you need in order to set up a product photography studio at home. You’ll need the right backdrop, lighting, and editing software. You’ll also need to understand how to take pictures of small products and how to format and edit your photographs.
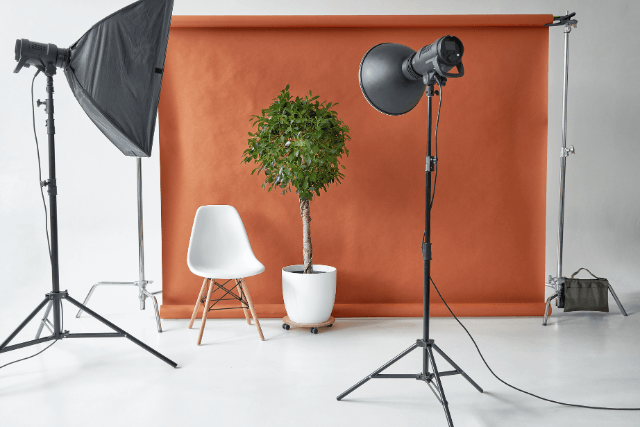
Setting up your photography area space
Finding a dedicated space for your product photography is important in creating consistent, high-quality images. Choose an area with plenty of natural light, or set up artificial lighting to create the ideal lighting situation. Set up your backdrop so that it’s easy to change out when needed.
Choosing the right backdrop
The backdrop you choose for your product photography can greatly impact the photo’s overall look. You can use various backdrops, but choosing one that will showcase your products in the best possible light is important. A solid colour or simple patterned backdrop works well, and using a lighter-coloured backdrop will make it easier to edit out any shadows in post-production.
If you’re photographing darker products or products with more intricate designs, you may want to use a textured backdrop or a backdrop with a pattern. Experiment with different backgrounds to see what works best for your products and aesthetics.
Lighting for product photography
Proper lighting is crucial for good product photography. You can use natural or artificial light, but choosing the type of light that will best showcase your products is important. If you’re photographing lighter products, natural light may be the best option.
Artificial light may be better if you photograph darker products or products with more intricate designs. It’s also important to ensure that your lighting is consistent so that your photos look good no matter the time of day.
Experiment with different lighting setups to find what works best for your products.
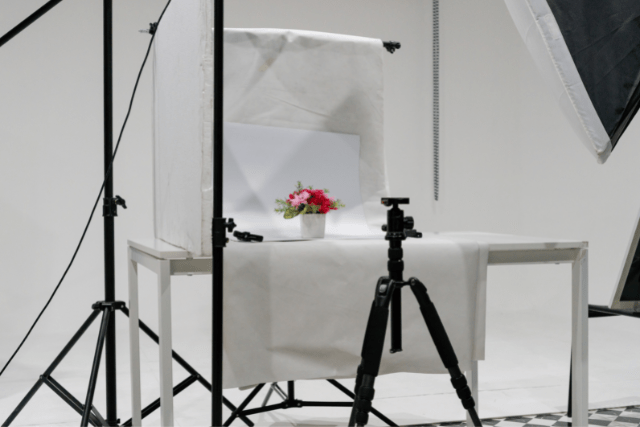
Taking pictures of small products
Taking pictures of small products can be tricky, but there are a few tips to keep in mind. Use macro mode on your camera for close-up shots or a smaller light source to avoid harsh shadows. Construct a small stage or platform to elevate the product and make it easier to photograph.
Editing and formatting your photos
Once you’ve taken your product photos, editing and formatting them properly is important. Use photo editing software to touch up any flaws or imperfections, and add text or other graphics to create a polished look. When posting your photos online, use the correct file format and size for optimal display.
Improving your product photography skills
Like any skill, improving your product photography takes practice and perseverance. Don’t be afraid to experiment and try new techniques. Keep up with industry trends, and continually strive to improve the overall look of your product photos. Your effort will pay off with higher sales for your online store.
How to choose the right photo editing software
Choosing the right photo editing software is important to get the most out of your product photography.
Some software programs are more geared towards basic photo editing, while others have more features that can help you improve the look of your products.
Here are a few things to consider when choosing photo editing software:
- The level of complexity: Some software programs are more complex than others, so you’ll want to choose one that is easy for you to use.
- The number of features: Different software programs offer different features, so you’ll want to choose one with the features you need to improve your product photography.
- The price: Not all software programs are expensive, but some are more affordable than others. Choose the one that fits your budget.
Popular photo editing software programs
Adobe Photoshop: This program is considered one of the best in complexity and number of features. It is also expensive, so it may not be ideal for everyone.
GIMP: This program is versatile and offers a wide range of features, but it can be difficult to learn. It is also free to download.
Lightroom: This program is geared towards photographers and has many features. It is also more affordable than Photoshop.
Canva: This program is easy to use and has many features, but it may not have as many advanced options as other programs. It also offers a free version with limited features or a paid subscription for more options.
When in doubt, it’s always a good idea to try out different software programs and see which one works best for you
Overall, it’s important to find the right photo editing software for your needs and budget. Take some time to research and try out different programs before making a decision. Your product photography will thank you for it!
FAQs
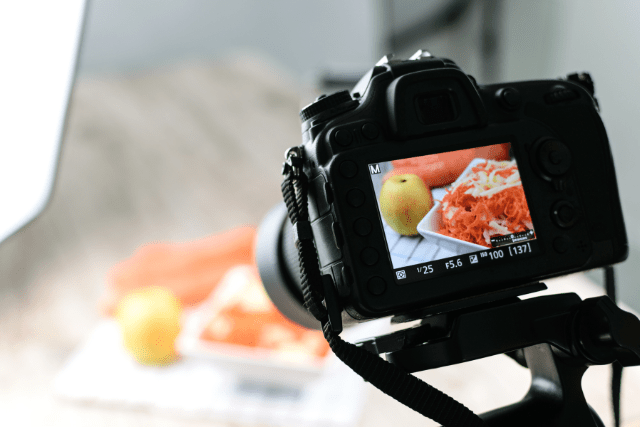
Q: Which camera should I use for product photography?
A: Any camera will work for product photography, as long as it allows you to adjust settings and take clear high-resolution photos. A DSLR camera will likely provide the best quality images, but a smartphone camera can also work well.
Q: Can I outsource my product photography to a professional photographer?
A: Of course! If you have the budget and prefer not to do your own product photography, outsourcing to a professional photographer may be a good option. Just keep in mind that it may be more expensive than doing it yourself.
Q: How often should I update my product photos?
A: It’s important to regularly update your product photos, especially if the item’s appearance changes or you offer new angles or styles. Aim to update your photos at least every few months, or as needed.
Conclusion
Today, we talked about how to take photos of your products at home for your online store. By using natural light and a simple backdrop, you can create beautiful product photos at a fraction of the cost.
We also discussed choosing the right backdrop, and lighting for product photography, taking pictures of small products, editing and formatting your photos, and tips for improving your product photography skills.
Keep these tips in mind to improve your product photography skills and increase sales for your online store.