Optimizing images for your WordPress website is essential for improving performance, boosting SEO, and delivering a better user experience. In today’s fast-paced online world, visitors expect websites to load quickly.
If your images aren’t optimized, they can slow down your site, causing frustration and driving visitors away. Slow-loading pages can also hurt your search engine rankings. By optimizing your images, you can make your site load faster, keep visitors happy, and improve your visibility on search engines like Google.
This guide will show you simple, effective ways to optimize your images so your WordPress website looks great and performs even better.
Best Practices for Image Optimization for WordPress
- Choose the Right File Format: Use JPEG for photos, PNG for images requiring transparency, and WebP for superior compression with high quality.
- Compress Images: Use tools and plugins to reduce image file sizes without sacrificing quality, improving load times and user experience.
- Resize Images: Ensure images are sized appropriately for your website’s layout and responsive design, avoiding unnecessary large file uploads.
- Leverage Lazy Loading: Implement lazy loading to defer image loading until they’re needed, speeding up your site’s initial load time.
- Use a CDN: Distribute your images globally via a Content Delivery Network (CDN) to reduce latency and improve site performance.
Why Image Optimization Matters
Image optimization involves reducing the file size of your images without sacrificing quality. This practice is crucial for several reasons:
- Improved User Experience: Fast-loading websites keep visitors engaged, reduce bounce rates, and improve overall satisfaction. If your images take too long to load, visitors might leave your site before they even see your content.
- Better SEO Performance: Search engines like Google consider page speed when ranking websites. Optimized images help your site load faster, which can improve your search engine rankings.
- Reduced Bandwidth Usage: Smaller image files consume less bandwidth, which is especially important for mobile users or those with limited data plans.
- Enhanced Accessibility: Properly optimized images, including the use of alt text, make your site more accessible to people with disabilities and improve your SEO.
The Importance of Faster Loading Times
When it comes to website performance, every second counts. Research shows that users are more likely to leave a site if it takes longer than 3 seconds to load. Slow load times not only frustrate users but can also lead to lower search engine rankings.
By optimizing your images, you help ensure your site loads quickly, providing a better experience for your visitors and improving your chances of ranking higher in search results.
Choosing the Right File Format
The first step in image optimization is selecting the correct file format. Each format serves a specific purpose and has its strengths and weaknesses:
JPEG (Joint Photographic Experts Group)
- Best For: Photographs and images with many colours.
- Advantages: JPEG files can be compressed to a smaller size without a significant loss in quality. This makes them ideal for web use, where both image quality and loading speed are essential.
- When to Use: JPEG is best used for images like photographs, where the balance between file size and image quality is critical.
PNG (Portable Network Graphics)
- Best For: Images that require transparency or have sharp edges, such as logos and icons.
- Advantages: PNG is a lossless format, meaning it retains all image data, resulting in higher quality but larger file sizes compared to JPEG.
- When to Use: Use PNG when you need images with transparency or when image quality is more important than file size.
GIF (Graphics Interchange Format)
- Best For: Simple images with limited colors and animations.
- Advantages: GIF supports both animation and transparency but is limited to 256 colors, which makes it suitable for simpler images.
- When to Use: Use GIFs for small animations or basic graphics with limited color schemes.
WebP
- Best For: Modern websites that need high-quality images with small file sizes.
- Advantages: WebP offers superior compression, allowing you to maintain high-quality visuals at a reduced file size compared to JPEG or PNG.
- When to Use: Use WebP for any image where minimizing file size is a priority without sacrificing quality.
AVIF
- Best For: Advanced web design requiring high efficiency in compression.
- Advantages: AVIF offers even better compression rates than WebP while maintaining higher image quality.
- When to Use: Consider AVIF if you need cutting-edge image optimization for a very performance-focused website.
Compressing Images Effectively
Once you’ve chosen the right file format, the next step is compression. Compressing images reduces their file size, making them load faster without a noticeable loss in quality. There are two main types of compression:
Lossless Compression
- What It Does: Reduces the file size without losing any image data. This means the quality remains intact, but the file size may not be as small as with lossy compression.
- Best For: PNG files or any scenario where maintaining image quality is critical.
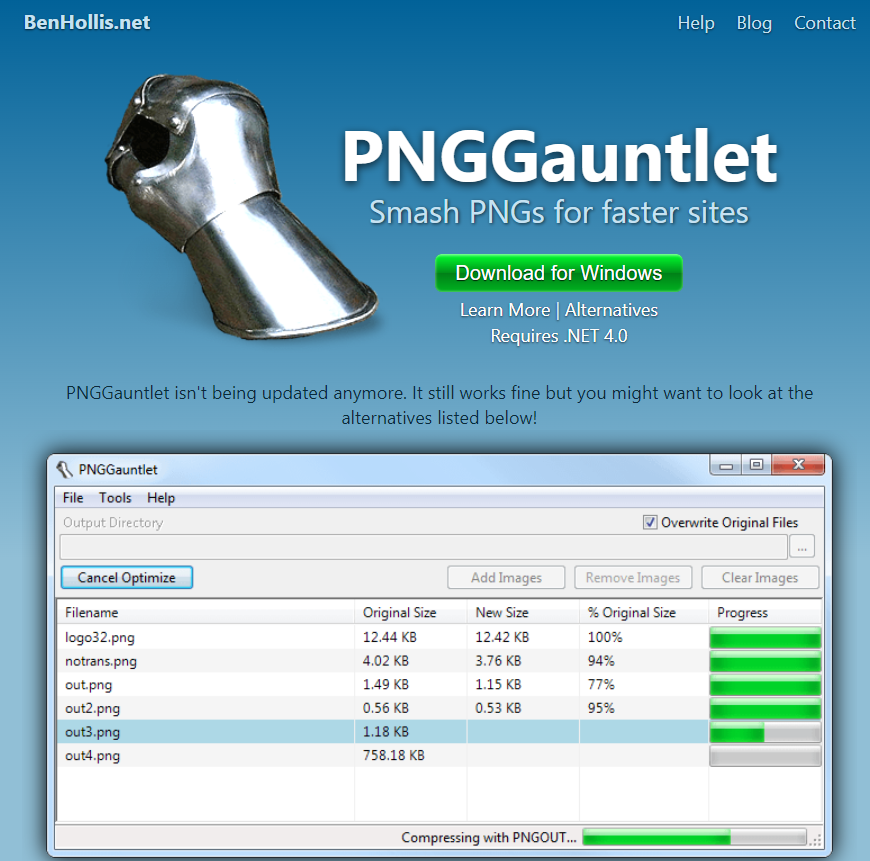
- Tools to Use: Tools like OptiPNG and PNGGauntlet are excellent for lossless compression.
Lossy Compression
- What It Does: Significantly reduces the file size by removing some image data, which can result in a slight loss of quality. This type of compression is useful when you need the smallest file size possible.
- Best For: JPEG and WebP files where a small reduction in quality is acceptable in exchange for a much smaller file size.
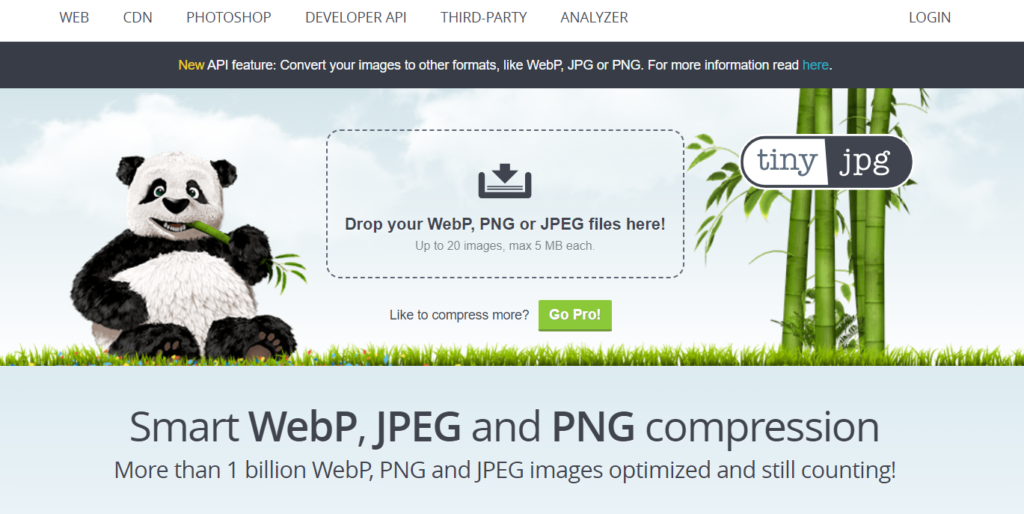
- Tools to Use: Tools like TinyJPG and JPEGmini are perfect for lossy compression.
Automated Compression Plugins
WordPress offers several plugins that can automate the compression process, making it easier to manage large numbers of images:
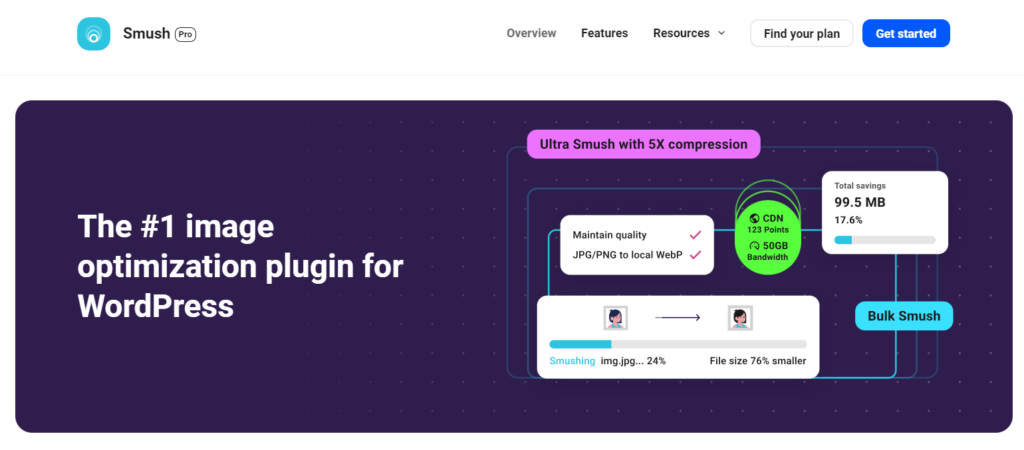
- Smush: Automatically compresses images when you upload them to your WordPress site. It also offers a bulk optimization feature to compress existing images.
- EWWW Image Optimizer: This plugin offers both lossless and lossy compression options, allowing you to choose the best method for your needs.
- ShortPixel: Another powerful plugin that compresses images and also offers the option to convert images to WebP format.
By using these tools, you can ensure that all images on your site are optimized without needing to compress each one manually.
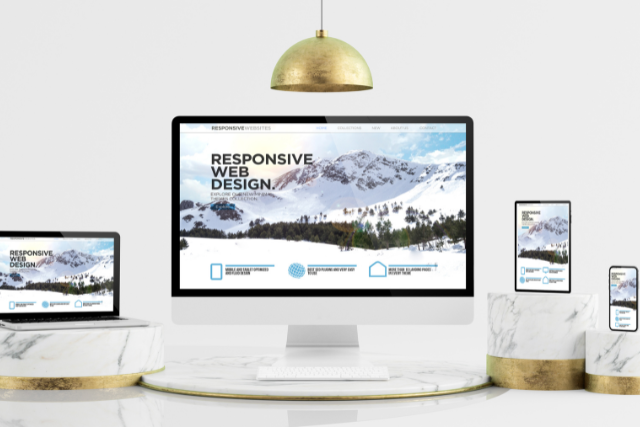
Resizing Images for the Web
Resizing images to the correct dimensions is crucial for both performance and design. Uploading images that are larger than necessary can slow down your website, consume unnecessary bandwidth, and degrade the user experience.
How to Resize Images
- Manually: Before uploading images to your WordPress site, use tools like Adobe Photoshop, GIMP, or Canva to resize images. Adjust the dimensions to match the size at which the image will be displayed on your website.
- WordPress Plugins: Plugins like Imsanity automatically resize large images to a maximum size before they are uploaded to your media library. This ensures that no oversized images make it onto your site.
Determine the Right Dimensions
- Responsive Design: Make sure your images are sized appropriately for different screen sizes. For example, if an image will be displayed at 800px wide on most screens, resize it to that width before uploading.
- Content Area: Consider the layout of your WordPress theme. If your content area is 1200px wide, uploading an image wider than that serves no purpose and only adds to the file size.
Cropping Images
In addition to resizing, cropping can further optimize your images by removing unnecessary elements that don’t contribute to the overall composition. This reduces file size and focuses the viewer’s attention on the most critical parts of the image.
- Manual Cropping: Tools like Photoshop or GIMP allow you to manually crop images before uploading them to WordPress.
- WordPress Plugins: Plugins like Crop-Thumbnails enable you to crop images directly within the WordPress dashboard, giving you greater control over how your images appear on your site.
Leveraging Lazy Loading
Lazy loading is a technique that delays the loading of images until they are needed—specifically when they come into the user’s view. This approach can significantly improve your site’s loading times, particularly on pages with many images.
Benefits of Lazy Loading
- Faster Initial Load: By only loading images as they come into view, lazy loading reduces the amount of data that needs to be loaded initially, speeding up your site’s load time.
- Reduced Data Usage: Lazy loading is especially beneficial for mobile users, as it reduces the amount of data that needs to be downloaded, saving bandwidth and improving the user experience.
How to Implement Lazy Loading
- Built-In WordPress Support: Since WordPress 5.5, lazy loading is enabled by default for all images on your site.
- Plugins: For more control over lazy loading, you can use plugins like a3 Lazy Load or Lazy Load by WP Rocket, which allow you to customize how and when images are loaded.
Utilizing a Content Delivery Network (CDN)
A Content Delivery Network (CDN) is a network of servers located around the world that store copies of your website’s content, including images. When a user visits your site, the CDN delivers the content from the server closest to them, reducing load times and improving performance.
How CDNs Work
- Global Distribution: A CDN stores copies of your website’s files on servers across the globe. When someone visits your site, the CDN serves the images from the server that is geographically closest to them, reducing latency.
- Reduced Server Load: By offloading some of the traffic from your primary server to the CDN, you can reduce server load and ensure faster response times for users.
Setting Up a CDN
- Popular CDN Services: Several CDN providers integrate easily with WordPress, such as Cloudflare, Amazon CloudFront, and KeyCDN.
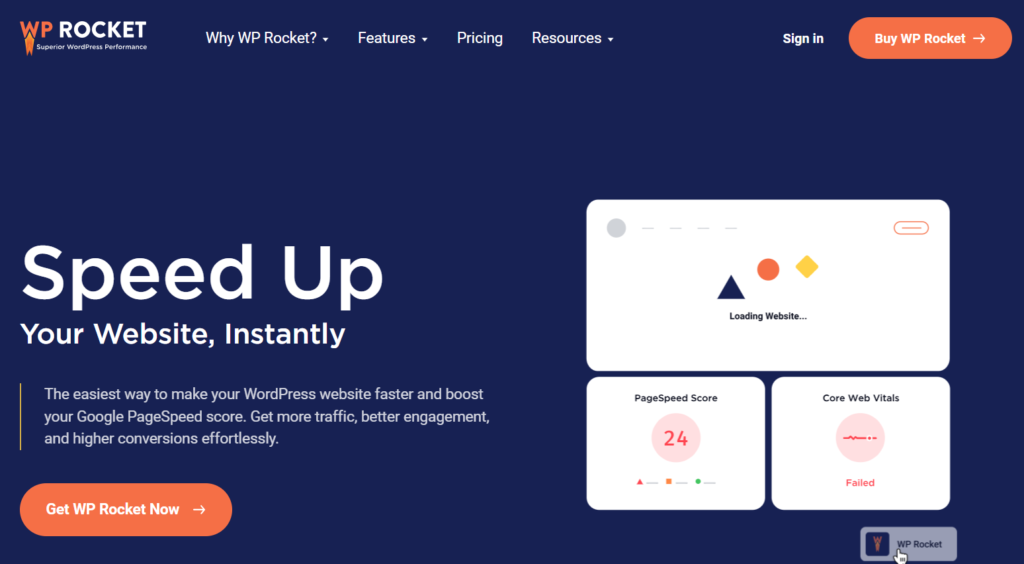
- WordPress Integration: Many WordPress hosting providers offer built-in CDN support, or you can use plugins like WP Rocket or W3 Total Cache to integrate a CDN with your site.
Descriptive and SEO-Friendly File Names
Using descriptive and keyword-rich file names for your images can significantly boost your site’s SEO. Search engines use file names to understand the content of your images, so it’s important to name your files thoughtfully.
Best Practices for File Naming
- Use Keywords: Include relevant keywords in your file names to improve your site’s visibility in search results.
- Be Descriptive: Ensure that file names accurately describe the content of the image. For example, instead of using “IMG1234.jpg,” rename the file to something like “blue-widget-2024.jpg.”
- Avoid Special Characters: Stick to hyphens and underscores to separate words in your file names. Special characters can cause issues with some web servers.
By following these practices, you can make your images more searchable and improve your website’s SEO performance.
Alt Text for Accessibility and SEO
Alt text is a brief description of an image that serves two essential purposes: improving accessibility for users with visual impairments and enhancing SEO. Search engines use alt text to understand what your images are about, making it an essential part of image optimization.
Writing Effective Alt Text
- Be Concise and Descriptive: Write a brief, clear description of the image that focuses on its most essential elements.
- Include Keywords: Naturally incorporate relevant keywords into your alt text, but avoid keyword stuffing, which can harm your SEO.
- Describe the Function: If the image is part of a link, the alt text should describe what the link does. For example, if an image links to a product page, the alt text might read “buy blue widget.”
Tools and Plugins for Alt Text
- SEO Plugins: Tools like Yoast SEO or All in One SEO can help you manage and optimize alt text across all the images on your WordPress site.
Optimizing Image Metadata
Metadata includes information about an image, such as its title, description, and caption. Optimizing this metadata can improve both your SEO and user experience.
How to Optimize Metadata
- Title: Use a descriptive title that includes relevant keywords. This helps search engines understand the content of your image.
- Description: Write a brief description of the image, focusing on its context within the page.
- Captions: Captions can enhance user engagement by providing additional context or commentary on the image.
Automating Metadata Optimization
- Plugins: Tools like SEO Friendly Images can automatically generate and optimize metadata for your images, saving you time and effort.
Regular Monitoring and Ongoing Optimization
Optimizing images is not a one-time task; it requires regular monitoring to ensure your website remains fast, efficient, and user-friendly.
Regular Audits
- Performance Tools: Use tools like Google PageSpeed Insights or GTmetrix to analyze your site’s images and identify areas for improvement.
- Compression and Resizing: Periodically review your media library to ensure all images are properly compressed and resized.
Bulk Optimization Plugins
WP-Optimize: This plugin helps you compress and resize images in bulk, ensuring that your entire media library remains optimized.
ShortPixel: This tool allows you to optimize images already uploaded to your site, ensuring that even older images are optimized for performance.
Frequently Asked Questions
Can I Optimize Images on My WordPress Site Without Plugins?
Yes, you can manually optimize images using tools like Photoshop or TinyPNG. However, using plugins like Smush or EWWW Image Optimizer can save time by automating the process.
How Can I Check If My Images Are Optimized?
Tools like Google PageSpeed Insights can analyze your site’s images and offer recommendations for optimization. You can also manually check file sizes and compression levels to ensure they are optimized.
What’s the Best Way to Optimize Images for Mobile Devices?
Resize images to fit the screen dimensions of mobile devices and use responsive images to serve the appropriate size based on the user’s device. Plugins like WP Retina 2x can help manage responsive images effectively.
Is Image Optimization Important for SEO?
Absolutely. Optimized images improve page load times, which is a significant factor in SEO. Additionally, using alt text and descriptive file names can enhance your search engine visibility.
How Do I Optimize Images for Slow Internet Connections?
Use aggressive lossy compression to reduce file sizes without sacrificing too much quality. Consider using lazy loading and CDNs to improve performance for users with slow connections.
Should I Use a CDN for Image Optimization?
Yes, a CDN can significantly reduce load times by serving images from a server close to the user, which is particularly beneficial for sites with global audiences.
To ensure your WordPress site not only looks great but also performs at its best, it’s essential to consider all aspects of optimization, especially if you run an online store. Learn more about WooCommerce performance optimization to improve your site’s speed and provide a seamless shopping experience for your customers.
Conclusion – Optimize Images for WordPress
Optimizing images for your WordPress website is crucial for ensuring fast load times, improving SEO, and providing an excellent user experience. By selecting the correct file formats, compressing and resizing images, leveraging lazy loading, and utilizing CDNs, you can significantly enhance your site’s performance.
Remember, image optimization is an ongoing process. Regular audits and updates will help you maintain a fast, responsive, and user-friendly website. By implementing these strategies, you’ll not only improve your site’s performance but also create a more enjoyable experience for your visitors.